Master Bedroom Mini Makeover
Welcome to our master bedroom! We built our house a little over two years ago and aside from getting a new comforter, there has been little to no effort made to cozify (that’s a word right!?) our space. It’s really been a pieced together, hodge podge of miscellaneous stuff taken from other areas of the house that served a functional purpose. I absolutely had fleeting thoughts of painting and decorating, but it certainly wasn’t a priority. Who really cares about esthetics when your staring at the back of your eyelids!? The room was simply a place to sleep.


This year however, I really wanted our room to be a priority and thank goodness my sweet, pacient husband was on board with the update.
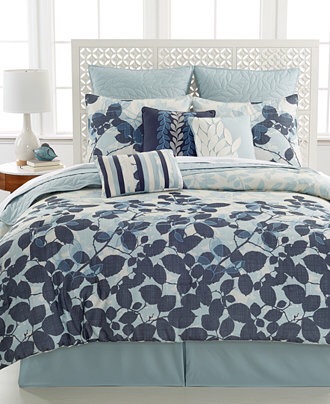
I’d originally purchased this bedding and was going to stencil the back wall. When it arrived I put it on the bed and liked it, but it was so drastically different in style to the rest of the house. I’d gone so far as purchasing artwork, decor and paint thinking once it was all put together, I’d really love it. The thing is, our house has a kinda cozy, vintage vibe and this duvet was just too modern. I REALLY wanted it to work, but deep down I just knew it wasn’t what I wanted. I packed it and all of the decor up and off it went.

Let me tell you, it was a blessing in disguise! After making the returns, I went over to the bedding section and saw they were having an incredible sale! While looking through the sale stuff, I found THIS! I immediately texted my husband to see if he liked it and waited with baited breath for his response. Ding, ding, ding! We had a winner! After my gift card and the sale, I spent $95 on this 10 piece set.
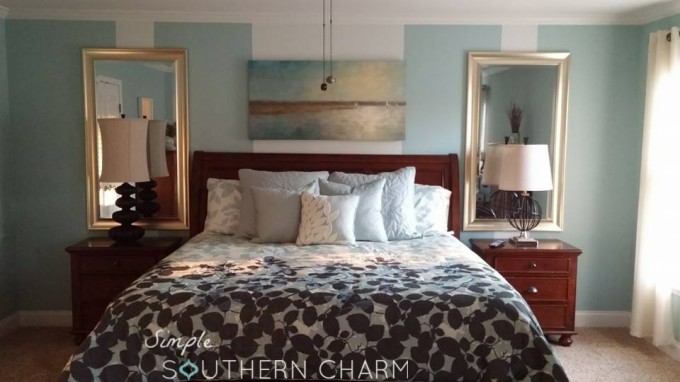
 I was so excited to have found a set that we both really liked and was really motivated to get the room done. Not wanting the project to drag on, we started painting the room that night. We used Sherwin Williams Cashmere Matte in Watery (one of my favorites paints ever!) for the base and Glimmer for the stripes. Originally I had the thought of doing horizontal stripes, but that look has become quite popular and I kinda wanted something different. I measured the wall from one end to the other, decided on the width of the center stripe and taped it off. Make sure you use a level so you’re lines are nice and straight. After I got the center taped off, I hit the perimeter of interior that was going to be painted in the lighter color with the base coat color. I promise yoU, it’s the only way to paint stripes. If there are any bleeds, they’ll be in the base color, not the stripe color. I got the bed pushed back into place and did the stripes behind the mirros the next day.

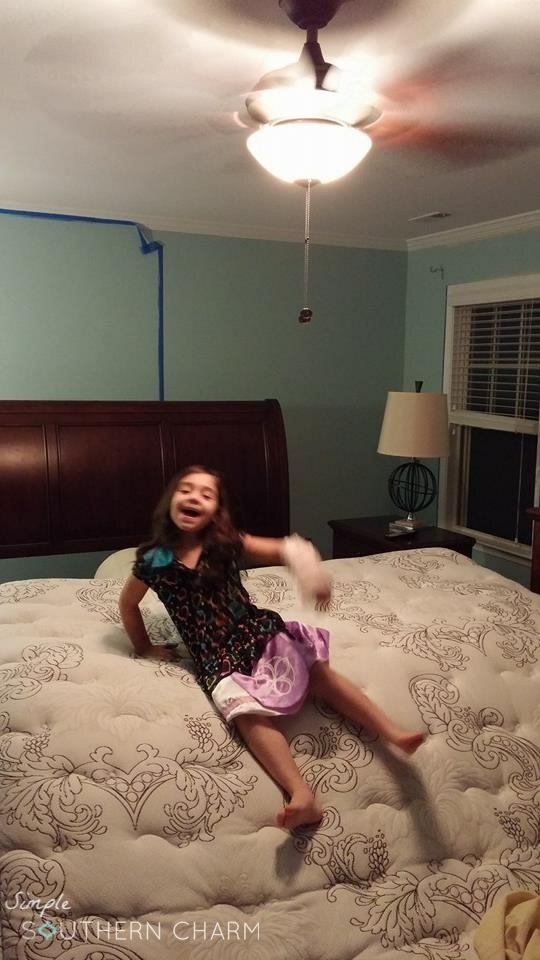
This little sweetie wanted to join in the fun, broken arm and all!
Because our bedroom is quite dark, I added large mirrors behind the night stands in order to give the illusion of more light. We measured and hung them, got the large canvas picture hung, assembled the bed and called this project done! I’m so in love with the space. It’s feminine, but also has some great more masculine elements.
I’d love to hear your thoughts. Feel free to PIN and share and as usual, ask away if you have any questions. xo